
Automate PDF Generation in Make.com | Re:port Flow
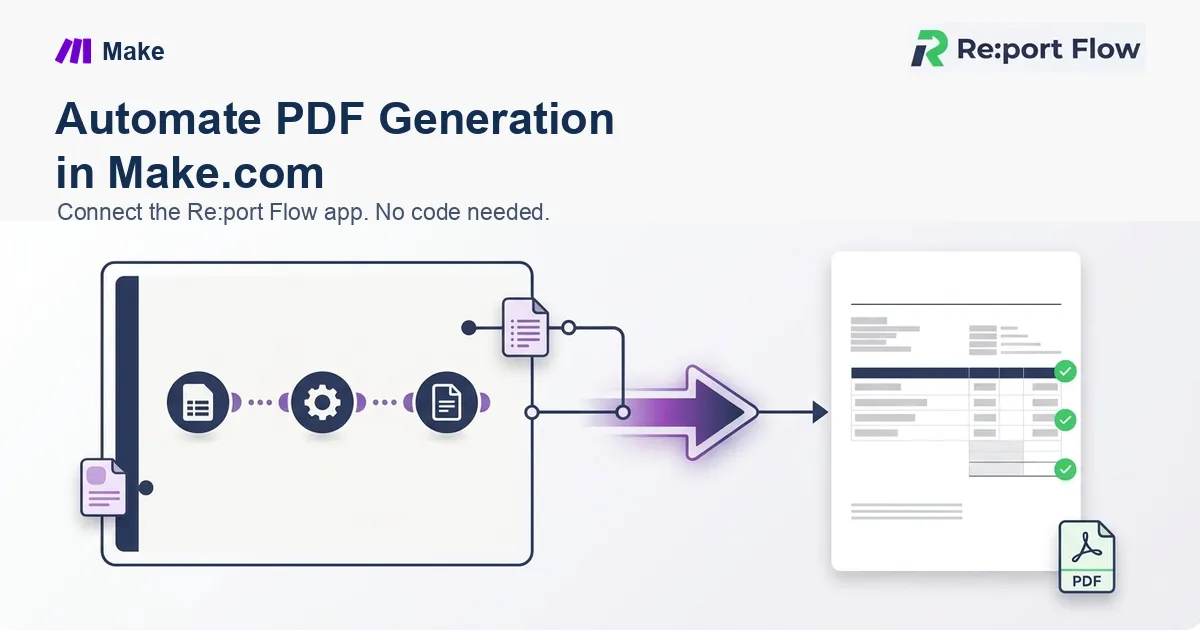
Re:port Flow passed Make.com's Apps review and is listed in the Make App Directory as an official app. Connecting uses OAuth 2.0 (Authorization Code + PKCE) only, so you never type an API key by hand. This guide walks through building a scenario that generates PDFs with the official "Re:port Flow" app.
What you can do
- Connect the official app to Make.com over OAuth 2.0 and automate PDF generation without code
- Generate invoices, delivery notes and other PDFs from Google Sheets or form data
- Save the PDF to Google Drive, or send it by email or Slack
- Handle bulk output with async modules and the Watch file completed trigger
What is the official Re:port Flow Make app?
In September 2026, Re:port Flow passed the Make.com Apps review and became an official app in the Make App Directory. Connections use OAuth 2.0 (Authorization Code + PKCE) only. At authorization it requests the scopes openid, profile, designs:read, templates:read and pdf:generate.
Compared with the old approach of hand-writing the URL and API key into the headers of an "HTTP > Make a request" module, you open a module, pick the Design ID from a dropdown, and the parameter fields expand automatically for the template you chose.
Before you start
- Create a Re:port Flow workspace (the free plan is enough to try this)
- Create at least one design (template). If you don't have one, copy one from the template gallery
- Have a Make account
Build the scenario in Make.com
Step 1: Add a trigger
Create a new scenario and add the module that starts it, for example:
- Google Sheets: Watch Rows (when a row is added)
- Webhooks: Custom webhook (a notification from an external system)
- Schedule: run on the 1st of every month (monthly invoice batch)
Step 2: Add a Re:port Flow module and connect with OAuth 2.0
Add any Re:port Flow module (for example, Generate single PDF (sync)), click "Add connection" under Connection, and sign in to your Re:port Flow workspace to authorize. Once connected, every module can reuse the same connection.
Step 3: Set the Design ID and template parameters
- Set the Design ID and Version. Template parameters expand automatically for that design
- Map outputs from earlier modules to the expanded parameters
- Set the File name (for example,
invoice.pdf) - Optionally set Share type (Workspace / Invited / Public) and Passcode protection
Step 4: Pass the result to later modules
Pass the output of Generate single PDF (sync), either the data binary or values such as files[].share.url, to your next module:
- Google Drive: Upload a File (use the invoice number in the file name)
- Gmail / Email: attach the file to Send an Email
- Slack: upload the file as a notification
Module list
The official app provides 1 trigger and 8 actions.
| Type | Module | Purpose |
|---|---|---|
| Trigger | Watch file completed | Starts the scenario when PDF generation finishes (requires a workspace admin connection) |
| Action | Generate single PDF (sync) | Generates one PDF and returns the file URL immediately |
| Action | Generate single PDF (async) | Starts async generation of one PDF and returns a requestId |
| Action | Generate multiple PDFs (sync) | Generates several PDFs and returns a ZIP URL immediately |
| Action | Generate multiple PDFs (async) | Starts async generation of several PDFs |
| Action | Build content item | Helper that builds one item (file name, share settings, parameters) for multi-PDF generation |
| Action | Download file | Downloads a generated PDF by requestId |
| Action | Get design parameters | Returns the parameter structure a design requires |
| Action | Make an API call | Calls the Re:port Flow API directly with your authenticated connection |
Bulk generation and async processing
For large batches such as a monthly invoice run, use Generate single PDF (async) or Generate multiple PDFs (async) and detect completion with the Watch file completed trigger. To generate many PDFs at once, first fetch the parameter structure with Get design parameters, then build each line with Build content item and pass them to Generate multiple PDFs. This keeps loops inside the scenario to a minimum. Sync generation times out at 120 seconds. Async generation has no timeout.
Carry context forward with passthrough
If you need to know which record a PDF belongs to once it's generated, pass an arbitrary value (for example, a Notion page ID) when you generate it. The value is included in the Watch file completed output, so later modules can use it to update the record or attach the file.
When no module fits: Make an API call
To call an endpoint that has no dedicated module, use Make an API call. It reuses your OAuth 2.0 connection, so you don't hand-write URLs or headers.
FAQ
How is this different from Make's generic HTTP module?
The official app unifies authentication on OAuth 2.0 (Authorization Code + PKCE), so you never write the URL or API key into headers. Design IDs and parameters also appear as selectable options inside Make.
Do I need to reconfigure Make after editing a template?
No. Edit the template in the browser designer and the change applies the next time a module runs.
Does it support Japanese fonts and complex tables?
Yes. Japanese fonts, vertically merged table cells and page-break control are supported out of the box.
Is the output history kept?
Who generated what and when is recorded, and files can be downloaded again.
The Watch file completed trigger isn't firing.
You may have connected with a non-admin account. Reconnect using a Re:port Flow account with workspace administrator (ADMIN) permission. Actions that only generate PDFs don't need admin rights.
I'm getting 429 errors.
You've exceeded the per-workspace rate limit: 30 requests/min for sync generation and 100 requests/min for async generation and downloads. Wait for the number of seconds in the Retry-After response header, then retry.
Summary
With the official Re:port Flow Make app, OAuth 2.0 is all it takes to put PDF generation into a Make.com workflow. For detailed settings, see the Make integration guide in the developer docs. Start by building one template on the free plan and trying the scenario above.